Hot Pot night

No comments:
Pin It
Another self-explanatory dish on a family night. It is not too often I do hot pot night but my brother wanted the change from our usual family bbq. Sooo, here's a simple breakdown on what we did for our hot pot event. If you aren't aware of what hot pot is, it is a primary Asian dish similar to fondue that consists of dipping vegetables and meat into a flavored of choice hot boiling pot until cooked. It is basically a stew. You cook as you eat along.
We used an electrical hot pot and burner to make our hot boiling water. Now you can create your own version by adding or taking away what you don't like. It is all about what you'd like in it. Meat, veggies, and sometimes seafood are just some of the common ingredients.
**Sauce is often a bland, a tint of salt, a savory mix of seafood paste (curry like paste) or spice if you prefer!

The purpose of this whole idea is to have the boiling hot pot in the middle of a table surrounded by vegetables and meat, therefore as you eat, you may dip ingredients and then put it into your own bowl, by adding rice noodles and the soup into one. This is a good dinner idea for a group of friends or small family to enjoy around the table as we chat.


Ingredients:

1) Veggies: Lots of spinach, green onions or scallions, mushrooms (sorted), bok choy, tofu, cilantro or parsley

2)  Coconut juice, crab paste or shrimp paste (often found in the international stores)

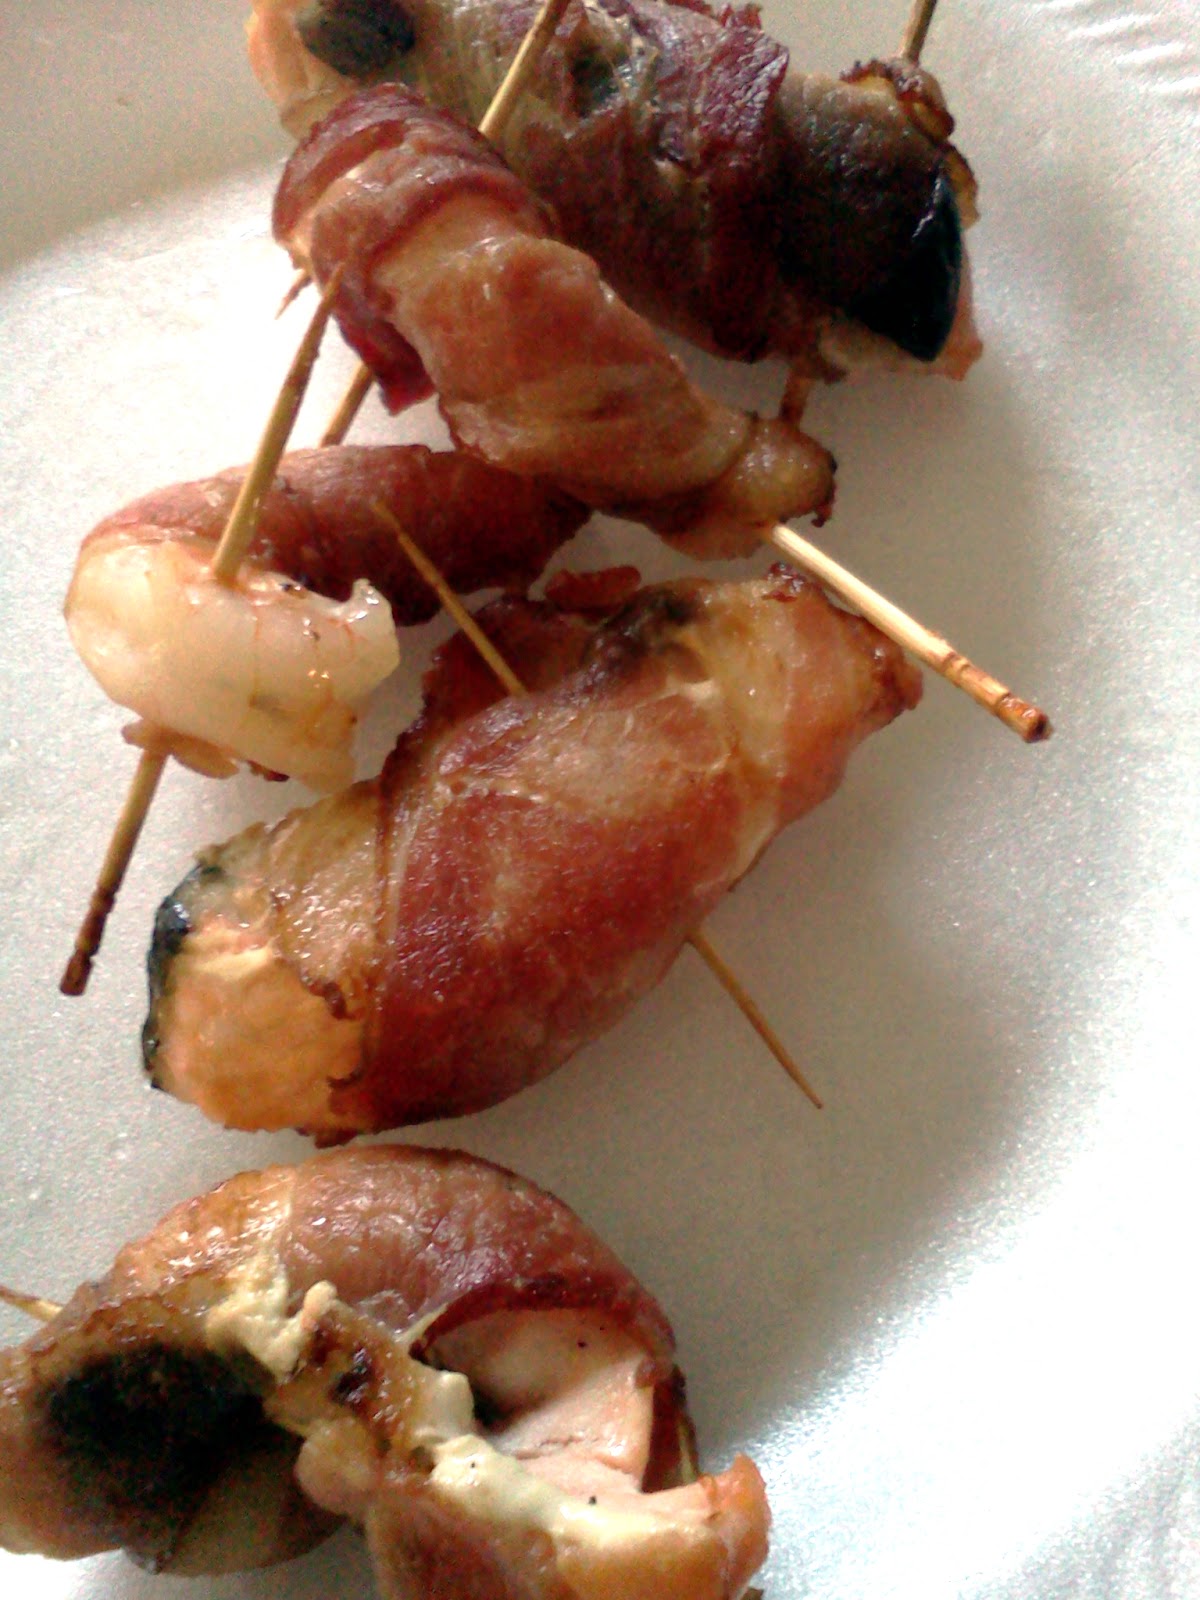
3) Beef briskets, meatballs, squid, baby crawfish

4) Rice noodles(optional). Boil beforehand in separate pot til tendered enough

5) hot pepper spice, salt or favorite side seasoning sauce, black pepper


Burner (propane or eletrical)


This second option is an electrical burner has two sided giving you two options of soup base. As you may tell one looks spicier than the other.


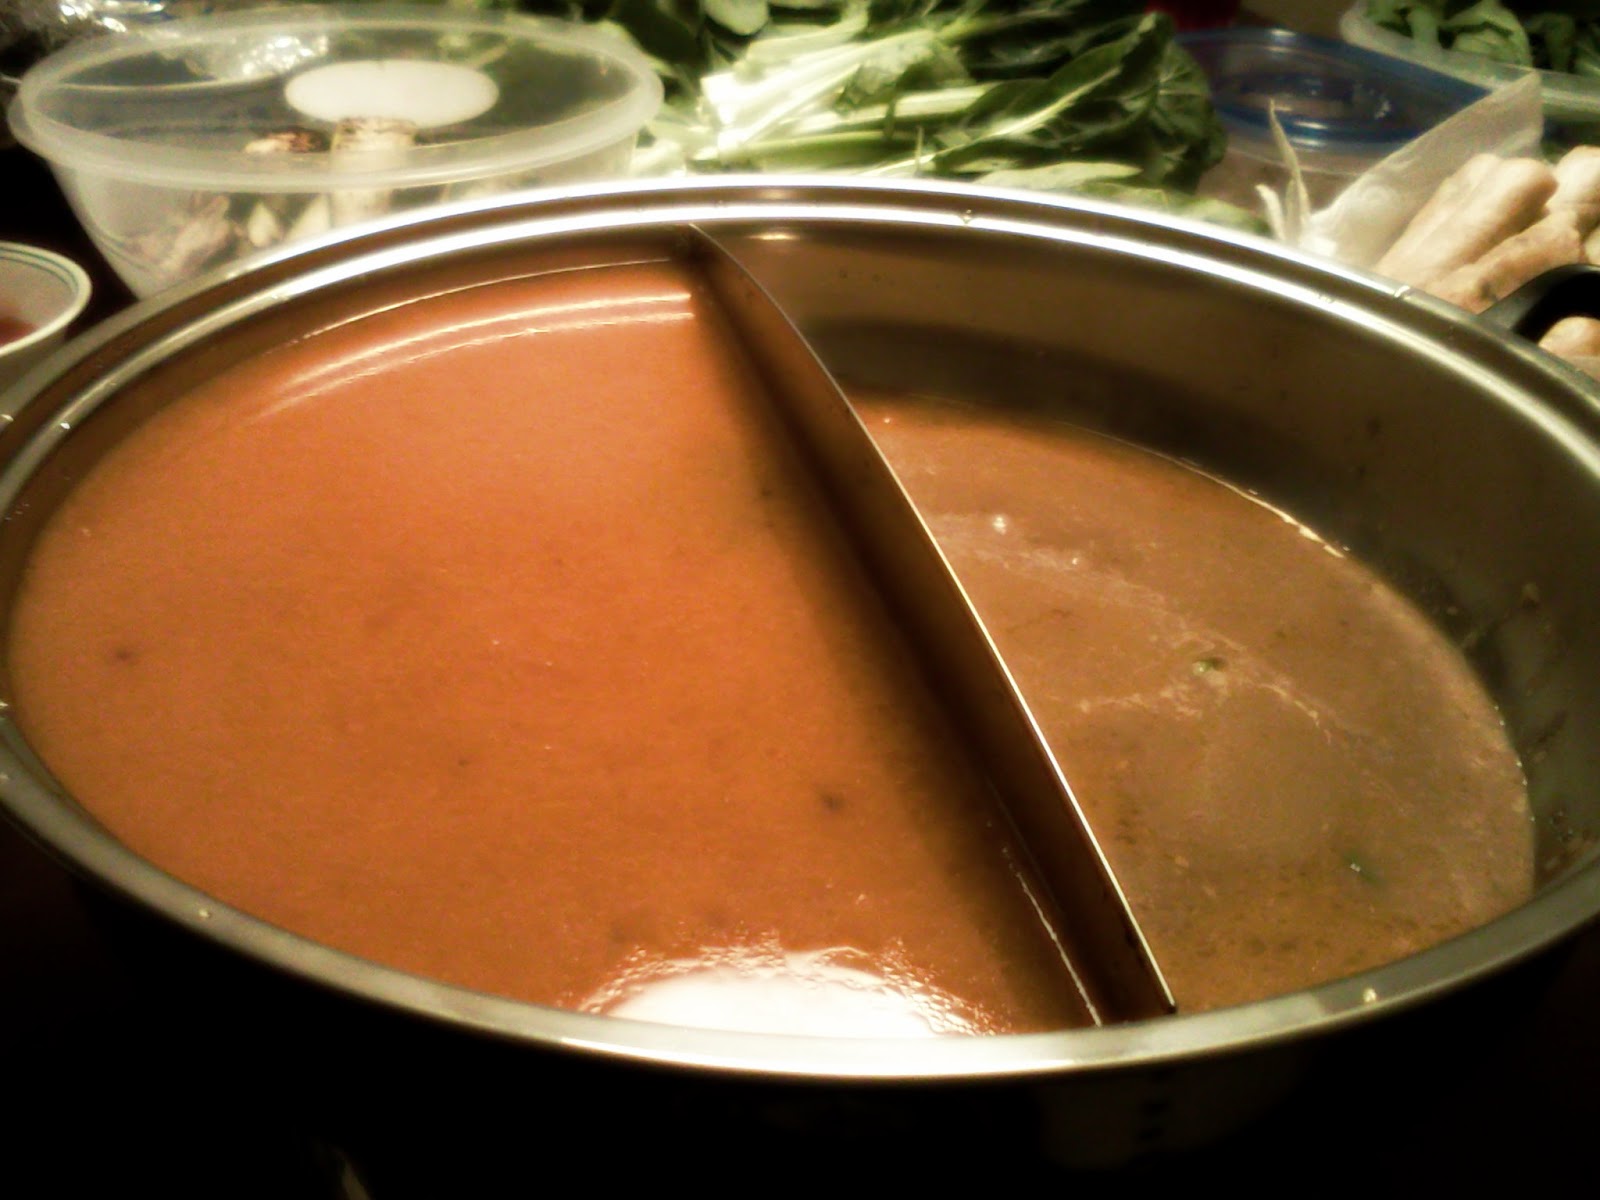
These vermicelli like noodles are doable but it is not necessary if you prefer without it. The ingredients below the noodles are coconut and a crab paste that has a great flavoring to the soup base. You may find it in your international stores. If you do not prefer it, a home base of salt and olive oil mix poured into the base works just fine. 


I hope that was a simple understanding what of hot pot is from my pictures. It was a fulfilled night with the usual gang.


post signature

Tapioca fruit dessert (3 simple ingredients)

2 comments:
Pin It


Ingredients:

1) 3 medium pk dry pre-made tapioca strips, pearls, etc (starch flour) any shape or size
of your choice (Found in international stores)

2) Raw coconut milk (1 can)

3) Brown sugar (1 cup or bark)

* 4) Jackfruit (1 can) **optional for a fruity and texture test


Fill pot with water about 1 1/2 inch from the tapioca and bring til boil. Then simmer down to low, and stir and stir and keep on stirring. You want to let it soften but not get sticky to the bottom of the pot too much. So periodically stirring and letting it sit for a good 30 minutes until its ready. Taste test to make sure it can be chewed with your teeth by biting off. You will notice colors will change as seen in picture step on right. Do not leave your tapioca to long as it could drain water fast and burn. Add a little more water at a time if needed. The end results of the tapioca should look like the last picture.


Coconut milk comes in can as this and make sure its milk, not clear juice. You may find these in most grocery stores.

Add 1 cup of water with 1 1/2 cup of brown sugar into a small pan or pot. White may be used for substitution. Keep at medium-high until boiling and stir in periodically to make sure brown sugar is melting. I am using 1 1/2 bark sugar because it is easier at melting but granulated is fine as well. Once all sugar has dissolve, let cool.

Cut up the Jackfruit out of the can as picture shown. Size is up to you however I prefer small thin slices. *If you aren't fimiliar with jackfruit, its a tropical sweet fruit that grows on tree. Its rare to find them around but you can find can ones at the international stores.


Once all is done, mix tapioca, jackfruit in a big bowl. Then pour in the brown sugar and can of coconut milk. Stir in til mixed well. It may still be warm at this point but since it is usually served chilled, you may add ice into the bowl or in individual's cup for their own desire. For a milkier taste, add a bit more of coconut milk if you have extra cans around.


Home made mint chocolate truffle balls

No comments:
Pin It
Ingredients: 
1 block (8 oz) cream cheese (room temp.)
Oreo mint cookies (plain oreos if you don't like mint flavor)
Melting white (or vanilla bar) and milk/dark chocolate (I used Hershey morsels)


Easy chocolate truffles ever and you can actually find this on the back of Oreos too. I just like to add white chocolate to mines as well.

1) Crush up your bag of cookies in a plastic Ziploc plastic bag. If you like some crunch in your truffles, lessen the crush. Then move on to mushing in your crumb cookies and room temperature cream cheese into a bowl and mix well.

2) Start by rolling into gum-size balls with your hands. *Mines weren't perfect since I was not too patient today but you can take your time and roll them nicely in a ball. Place them on a cookie sheet under parchment or wax paper about half inch apart. Let sit in the fridge to harden for a few hours. I had to leave mine over night because I started ahead of time and it turned out fine too.

3) Melt your chocolate, broiling style or microwave. I used mini tongs to dip each chocolate ball in the chocolate until coated well. Let sit on parchment paper until harden well. Usually takes almost a whole day for chocolate while white chocolate only takes an hour or two to dry fully well.


Love, peace & eats!

Kay


white chocolate peppermint popcorn

No comments:
Pin It
Ingredients: 

Popcorn
White chocolate morsels or vanilla bar
Candy canes or peppermints
Big bowl or Tupperware


I start off with 2 bags of popcorn, 1 bag of white chocolate and 1 candy candy or 4-5 peppermints. You can do without the mints if you prefer just simply the white chocolate. Next, I pre-chopped up the mints. There is no easy or best way to do this. I simply used a wooden meat pounder to crush the candy. Its best if you have a clean cloth to put the candy wrapped in. Ive tried using paper towel, plastic bags and pounding in a bowl. they all get ruined quickly and candy goes flying everywhere. Moving on, now pop all your popcorn. Separate all the kernels from the bag as much as you can. It takes time but you will be glad you did it later.

Melt a handful of white chocolate at a time under 25-30 seconds. You will have to microwave the chocolate in 3-4 separate times. Do not attempt to melt the whole bag of chocolate at once. *There's also the option of melting the whole bag in a double boiler. Anyhow, check on chocolate every 15 seconds and stir in microwave. Leave the chocolate back in if not complete melted. Set for another 15-20 seconds. You can also til when the chocolate chips are shiny, they are melting. Stir with spoon quickly.
*Always watch your chocolate, they burn really fast.


Once you are able to smash all the morsels together into a pasty melt, throw in the crushed mints in. As much or little as you want. And quickly mix it in. Then pour over popcorn and mix well completely. Do this for a good 20 minutes until you evenly get most popcorn covered with chocolate. The chocolate hardens pretty quick. Just keep mixing. I like to do this in a big tupperware so I can cover it with a lid and shake it around. Once they become loosely, let it sit for 30 minutes to dry off to get best testing. These popcorn are amazingly addicting and just melts in your mouth!


Peace, love & eats!

Kay


Do it yourself mini sliders

No comments:
Pin It


My sliders aka mini burger were inspired by this past summer's food truck visit. It was a food truck galore all around. I cannot recall the truck name but I enjoyed the mini burgers more than I thought I would. I even made my own sauce, simply 2 sauces combined. No brainer on that. These mini bites are fun for lunch with friends over or dinner. Easy to put together and anything goes! No wrong way to make them. Here's my simple recipe.


Ingredients:

Mini burger buns
Beef
Bacon* optional
Salt & pepper
Yellow onion
Green & red bell pepper
Mozzarella cheese
Sauce (Sriracha hot red sauce & mayo mix)

Chop and shred up your bacon and beef into threaded pieces. Do the same to your bell peppers & onion. Mozzarella can be in round or square slices. Sauteed meat til desired taste. Throw in bell peppers and onion. I like little onion therefore only threw in a little but maximize your preferences! Add your pinch of salt and pepper.  Heat up the buns in oven for 5 to 8 minutes, depending on how crisp and hard you like them. Lay them opened. Place sliced mozzarella pieces between buns and let sit til almost melted. Take it out and throw your cooked sauteed meat and veggies in your buns and you are about done. You can either brush on your sauce unto the inside of buns or dip them instead which is how I usually like it.


Love, peace & eats!

Kay

Baked marshmallow sweet potatoes

No comments:
Pin It


I normally prefer yams over sweet potatoes when making this dish however this time around I decided to use sweet potatoes and it was just as good. Thats also known as candied or marshmallow-ed yams! Sometimes its hard to define the taste but as long as the results are the same, right? Anyhow,  its easy to whip for the holidays when you need to add another side dish with your turkey or ham. Also this is my first time making from a can. Years before I have always used fresh yams or sweet potatoes do this dish. It takes just a little longer to bake but its just as good, if not better.

Ingredients: (serving for  10)

2 Can of sweet potatoes or 4-5 fresh raw sweet potatoes
1/2 bag of marshmallows
brown sugar
butter
*option-Throw bread crumbs/stuffing on top for a crunchy taste

Find a non baking tray and butter it up a little before you throw in your canned sweet potatoes. They should be pre cut in a bite size but you make smash a little more if you like it smoother. Add brown sugar on top of dish. Amount is up to you but I like alot so I make sure to cover the whole top. Leave in oven for 325 degrees for 10-15 minutes and then throw marshmallows on top minutes after. Let sit in oven for another 5-10 minutes until marshmallow area almost melted but not gone. Pull out and let sit to cool off.
Everyone loves this easy dish everytime. It has a nice balance to the salty dishes served at the table.


Love, peace & eats!

Kay


Salmon & shrimp bacon wrap

No comments:
Pin It

Ingredients:

Bacon strips
Salmon
Baby shrimps
Toothpicks
olive oil
Teriyaki or your fave flavoring sauce


Great holiday appetizer and something easy to put together before the gather begins. Just simply wrap bacon around shrimp and pre-cut salmon pieces. Stick toothpick to keep it together and from falling apart. *Brush lightly of olive oil on the salmon before wrapping. Once you are done with a handful, stick in on a tray in the oven for 325 degrees for 30 minutes or less. Check to see when done. Once done, brush on Teriyaki sauce or any other sauce of your favorite. No need add salt as the bacon is salty enough already.
Enjoy!

*Optional. For a fancier appetizer party, pre-cut small pieces of pineapples and stick them on after wraps are done and lay out in nice platter bowl. Im sure your party will immensely enjoy this savoring sweet flavor.


Love, peace & eats!

Kay